Unique Insights
Delve deeper into your studies on the relationship between microstructure and mechanical properties.
Rapid, Simple Testing
Minimal sample preparation and rapid testing turnaround times significantly accelerate your research activities.
Rich Datasets
Fully characterise the strength of your metallic materials to support the design of new alloy systems.
Testing Versatility
Test small coupons, big coupons, off-cuts, cubes, cylinders, random shapes and real components.
We are a team of scientists, just like you!
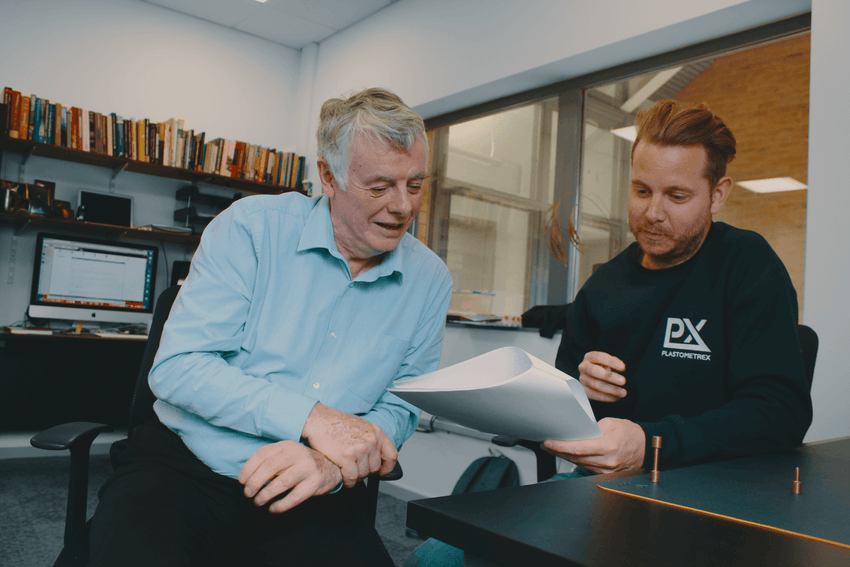
We understand the importance of experimental test equipment and the role it can play in ground-breaking research. We're here to help.


Dr Danielle Cote
Dr. Cote is an Assistant Professor in Materials Science & Engineering at Worcester Polytechnic Institute
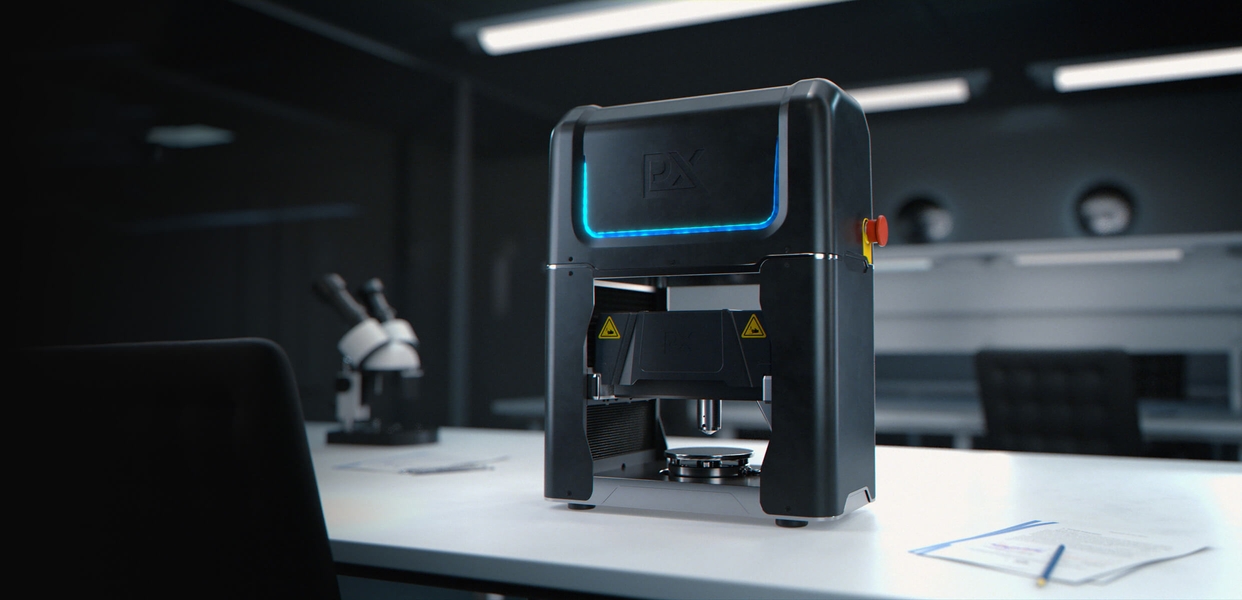
“Having the PLX-Benchtop allows us to significantly reduce the sample size required, not only saving time and material resources, but allowing us to generate mechanical data which we have yet to see on our materials”
Papers on Profilometry-based Indentation Plastometry (PIP)
Both hardness testing and Profilometry-based Indentation Plastometry (PIP) can be used to obtain features of (tensile) stress-strain curves. The two tests are superficially similar, involving penetration (under a known load) of an indenter into the flat surface of a sample, followed by measurement of dimensional characteristics of the residual indent. The associated data handling procedures, however, are very different in the two types of test. Hardness numbers, which are commonly based on measurement of the lateral extent or depth of the indent, essentially give a semi-quantitative indication of the resistance to plastic deformation: going beyond this to infer features of the (nominal) stress-strain curve – notably the yield stress (YS) and Ultimate Tensile Stress (UTS) – can only be done via empirical correlations (often restricted to certain types of alloy). PIP testing, on the other hand, involves measurement of the complete indent profile, followed by (automated) iterative FEM modelling of the indentation, allowing the complete (true) stress-strain curve to be obtained. This paper covers application of both approaches to 12 different alloys, with inferred stress-strain characteristics being compared with those from tensile testing. Insights are provided relating to the very different levels of detail and reliability offered by the two procedures.
An important capability of PIP testing is that it allows detailed study of anisotropy (detectable via a lack of radial symmetry in the indent profile) and inhomogeneity (on a scale of a few mm or above). The technique was used in this study to clarify that a particular (additively manufactured) material was isotropic everywhere, but that its stress-strain curve changed significantly with increased distance from the original growth plate. PIP has unrivalled potential for study of AM products.
This work concerns use of the PIP procedure to obtain stress-strain relationships for a series of incremental near-surface layers in a steel that had been hardened by diffusional penetration of carbon (to a depth of about 1 mm). This was done via serial sectioning, with several layers about 200 µm in thickness being tested. Residual stresses were also measured and taken into account. No other testing technique allows such characterization to be carried out.
Training Courses and Conferences
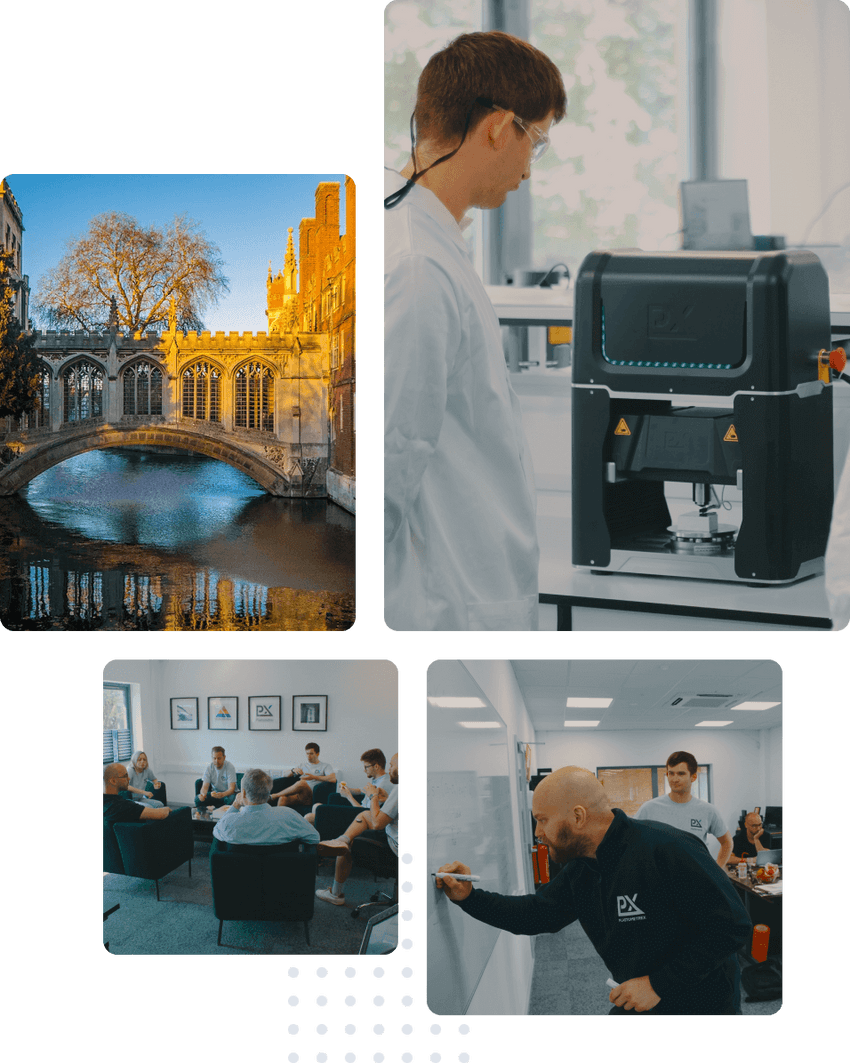
We design and deliver bespoke technical courses and we organise and host conferences covering key areas in materials science, mechanics and mechanical testing. Courses are delivered in Cambridge, by our team of world leading materials scientists. See below for upcoming events.


Professor Bill Clyne, FREng
Emeritus Professor, Cambridge University | Chief Scientific Officer
The team and I have a long history of working together on advanced, materials-related research projects. We're committed to continuing this tradition here at Plastometrex, and to supporting other materials scientists with our technical outreach work, our training courses and our conferences.
On the Board with Plastometrex
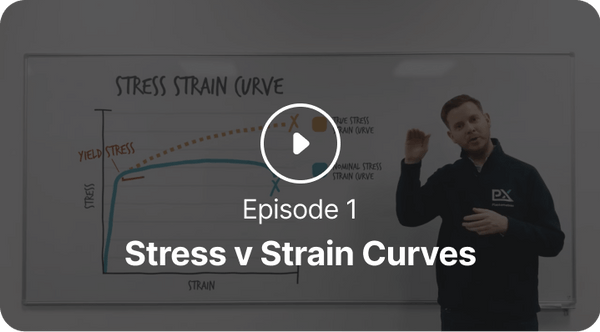
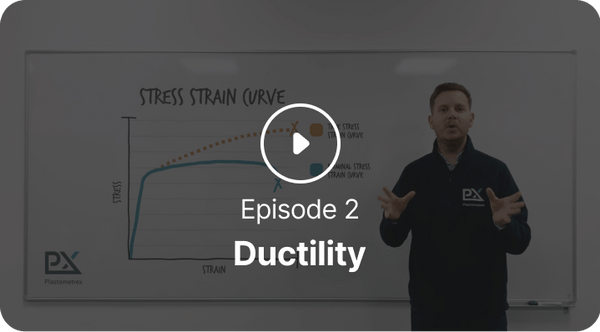
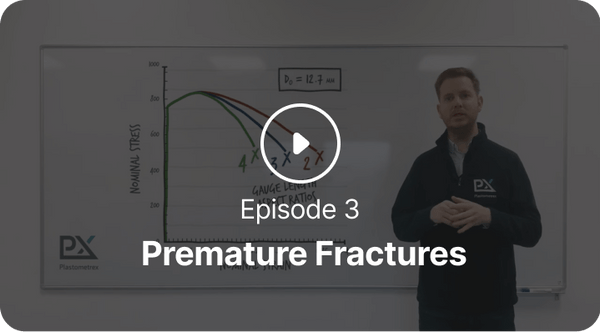
Enjoy our series of short-duration videos on materials, mechanics and mechanical testing!
Signup to our newsletter
Stay up to to date with all of our latest product releases, events and publications.
© 2024 Plastometrex. All rights reserved.
We use cookies
Click ‘Accept’ to allow Plastometrex to use cookies to personalise this site, and to deliver ads and measure their effectiveness on other apps and websites, inclusing social media. Click ‘Reject’ if you do not want us to use cookies for this purpose. Find out more in our Privacy Policy
